


Welcome to EchoPx Technologies
EchoPx Technologies, established in Bangalore in 2007, is a prominent firm specializing in Website Design and Digital Marketing. With a diverse clientele exceeding 700, we serve a wide array of industries, including startups, manufacturing, retail, education, and MSMEs on a global scale.
Our Dedicated and Highly Skilled Team comprises professionals who leverage cutting-edge technologies in their respective areas of expertise. Our teams include Designing, Development, Quality Assurance, SEO, and Networking specialists.
Our Primary Vision is to harness the transformative potential of digital and online marketing tools to elevate your brand’s value to unprecedented heights, ultimately driving the growth of your business.


Why Choose Us?
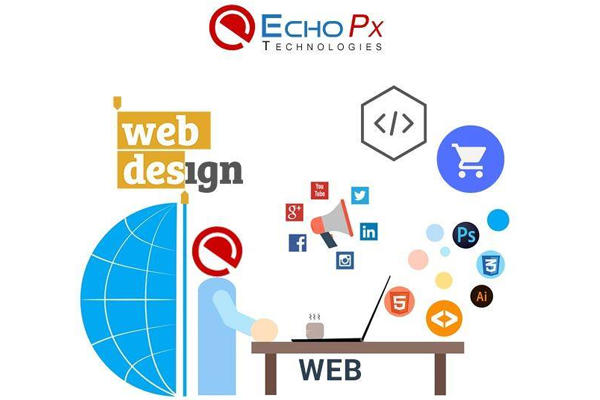
- Elevate your Brand with our intuitive Website Designs
- Boost your online visibility with Digital Marketing
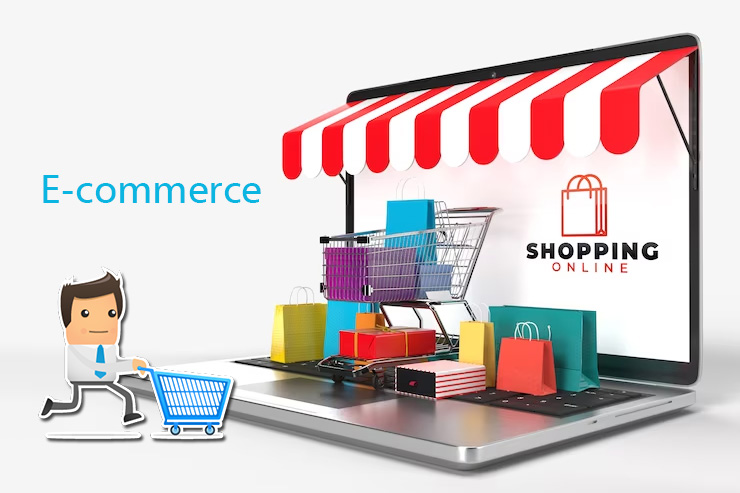
- Sell your product anywhere with our E-commerce Solution
- Build your Brand value with our creative Branding Strategy
- Our ERP & CRM applications help run your business smoothly
- Manage your emails without hassles with our E-mail Solutions
Why hire a separate staff when Echopx Technologies is a one stop destination for all your digital needs.
 WHY CHOOSE US?
- Highly Qualified Personnel
- Over 15 Years Of Experience
- Achieve Significant Cost Savings
- 700+ Satisfied Clients Worldwide

Blogs


Our Dedication to Agile Methodologies


Our Clients
Frequently Asked Question’s
All of our packages offer features that enhance the value of any modern website design contest. When making your package choice, consider the variety of designs you’d like to see, the number of designers you want competing for your contest, and, of course, your budget. Our higher-priced packages provide more design options and enhanced support. Opting for a larger package not only increases the prize money for the winning designer but also attracts more experienced designers to participate in your contest, resulting in a wider array of high-quality website designs to choose from. Therefore, no matter which package you decide on, you’re bound to receive a design you’ll adore. If you’re still uncertain, feel free to reach out to us for a complimentary design consultation. Click here to select the package
When selecting an SEO package, consider your budget, business goals, and the provider’s reputation and experience. Look for transparent pricing, detailed reports, and a clear communication plan. Click here to select the package
SMO packages can cover a variety of social media platforms, including popular ones like Facebook, Instagram, Twitter, LinkedIn and Pinterest. The choice of platforms depends on the client’s target audience and business goals. Click here to select the package
Brand consultancy plans and packages are structured service offerings that include various consulting services, strategies, and deliverables tailored to your brand’s specific needs. They often come in different tiers to accommodate different budgets and objectives. Click here to select the package
The cost varies widely depending on factors such as the type and length of the video, the complexity of the production, and the provider’s pricing structure. Click here to select the package
Many e-commerce providers offer customizable options that allow you to tailor the package to your specific requirements. You can often choose add-ons or features based on your preferences. Click here to select the package
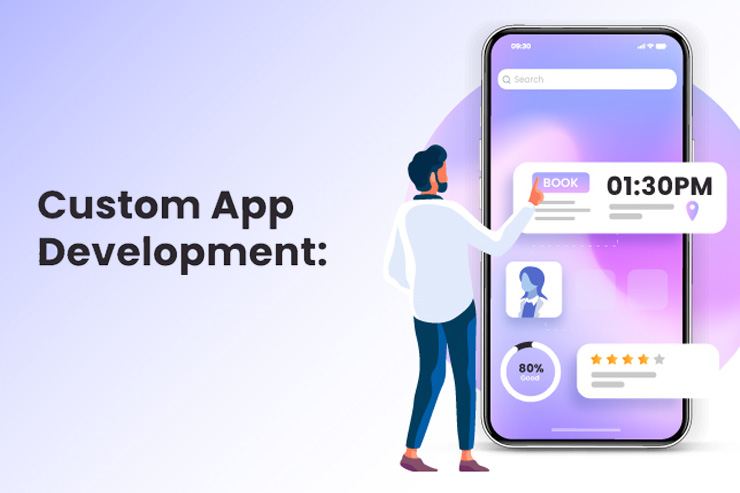
Security is a crucial aspect of custom applications. Work with your service provider to implement security best practices, including data encryption, access control, and regular security audits. Click here to select the package

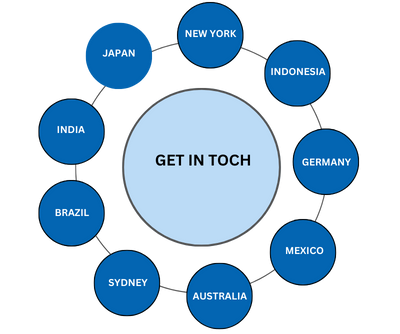
We Work Worldwide
How we work around the world. We recognize that our clients think globally, and so do we. We focus on what our clients value, wherever they do business.
- India
- New York
- Germany
- Brazil
- Sydney
- Indonesia
- Mexico
- Japan
- Australia